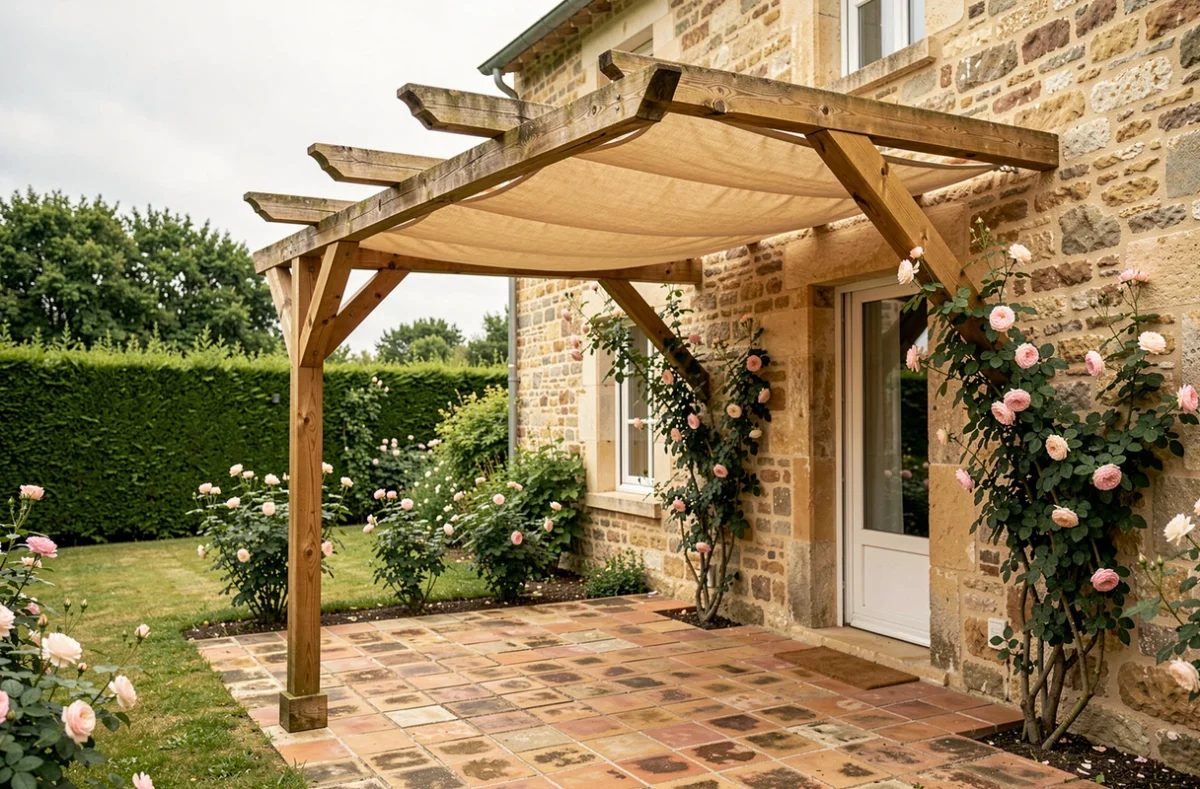
A wooden lean-to pergola is not fixed to the wall like a simple photo frame. The type of façade, the nature of the ground, and the details of water drainage condition the durability of the structure much more than the type of wood chosen. Before drilling anything, several technical parameters need to be measured, compared, and decided upon.
Wall fixing of a lean-to pergola: the technical point that the façade imposes
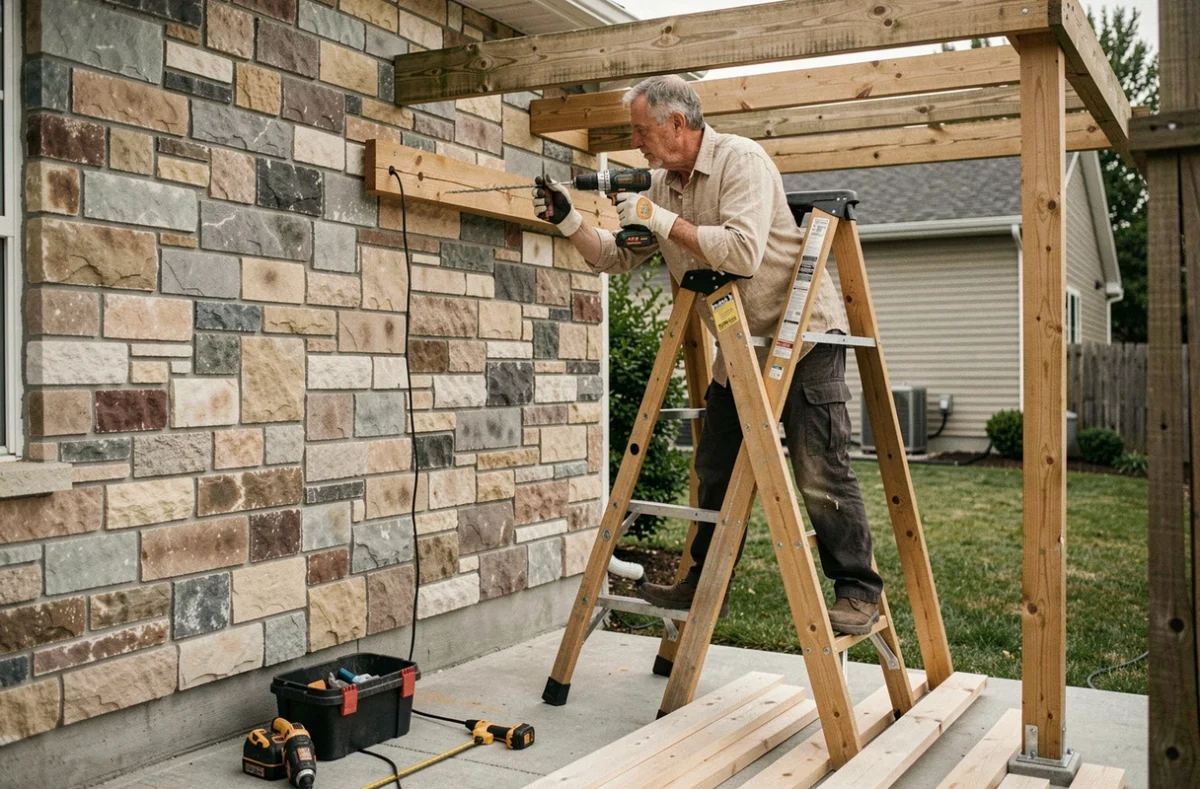
The majority of guides detail the choice between treated pine and Douglas fir but quickly overlook a crucial point: the façade dictates the anchoring system, not the other way around. A solid masonry wall made of blocks or stone accepts standard expansion plugs. A hollow wall (hollow brick, cellular concrete) requires chemical anchors for sealing, which are significantly more expensive but the only ones capable of handling the tensile forces of a loaded wall beam.
The trickiest case remains that of an externally insulated façade. The insulation (polystyrene, rock wool) does not provide a load-bearing support. The threaded rods must pass through the insulation to anchor into the load-bearing wall, without creating a thermal bridge or a point of entry for water. Having the fixing system checked by a professional is preferable to randomly choosing plugs at a hardware store.
When you decide to install a wooden lean-to pergola, the first step is to precisely identify the composition of the façade wall before purchasing any hardware.
Wooden lean-to pergola: comparison of wood types according to usage class
The choice of wood is not just a matter of aesthetics. The NF EN 335 standard defines usage classes that determine a wood type’s resistance to moisture based on its exposure. For a lean-to pergola, two situations coexist on the same structure: the posts and beams above ground, and the post feet close to the ground or a damp terrace.
| Wood Type | Natural Usage Class | Use for Lean-to Pergola | Required Treatment |
|---|---|---|---|
| Autoclaved Scots Pine | Class 4 (after treatment) | Posts, beams, rafters | Autoclave required |
| Douglas Fir | Natural Class 3 | Beams, rafters above ground | Preservative recommended |
| Larch | Natural Class 3 | Beams, cladding | No mandatory treatment |
| Oak | Natural Class 4 | Load-bearing posts, wall beam | No mandatory treatment |
| Black Locust (False Acacia) | Natural Class 4 | Posts in indirect soil contact | No mandatory treatment |
Autoclaved pine remains the most common option for kit pergolas. Douglas fir offers a good compromise between natural resistance and price, provided that the end grain of the wood is not exposed to the elements without protection (cap, bevel, or end stain).
A detail often overlooked: designing the joints so that the wood dries quickly protects the structure more than choosing a high-end wood type installed with details that retain water.
Ground anchoring of pergola posts: base plate or direct sealing
The posts on the garden side rest on the ground or on a terrace slab. Two methods oppose each other, and the choice depends on the nature of the support.
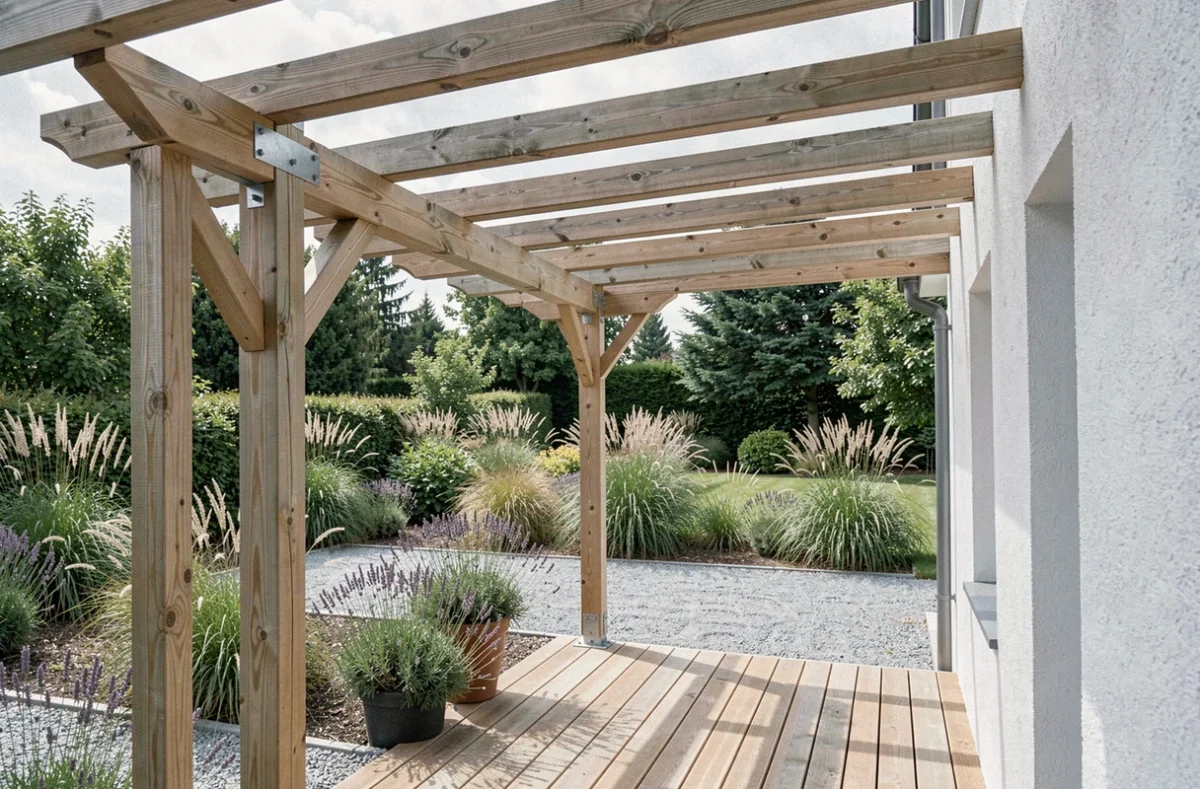
Raised fixing plate
A metal plate bolted into a concrete block or slab keeps the base of the post a few centimeters off the ground. The wood never touches the damp surface, which significantly reduces the risk of rotting. This solution is suitable for existing terraces and well-drained soils.
Direct sealing in a concrete block
The post is driven into a hole filled with concrete. The fixing is solid, but the permanent contact of wood-concrete-moisture shortens the lifespan of the post, even if treated. This method remains relevant only if the ground is unstable and wind resistance requires deep embedding.
- On concrete slab or tiled terrace: screw plate with chemical anchor bolts, checking the thickness of the slab (minimum required according to the plate manufacturer)
- On loose natural ground: poured concrete block in place with integrated raised plate, depth adapted to regional frost
- On wooden terrace on joists: local reinforcement of the structure under the support point, with a distribution beam under the post
Water drainage and roof slope: a detail that conditions the façade
A pergola with adjustable slats or a green roof allows water to pass through. With a fixed roof (polycarbonate, waterproof stretched fabric, corrugated sheets), the water must be directed somewhere. Without sufficient slope and without a gutter, it will run down the façade or accumulate at the base of the posts.
The minimum slope for a fixed pergola roof is around 5%, directed away from the wall. The gutter is placed on the garden side, connected to a rainwater downspout or a drain. Neglecting this point causes leaks at the wall-pergola joint, precisely at the most difficult point to address once the structure is installed.
The joint between the wall beam and the façade deserves a metal flashing or a self-adhesive waterproofing strip placed under the coating. A simple silicone joint ages poorly and eventually peels off due to the thermal expansions of the wood.
Preliminary declaration or building permit for a lean-to pergola
Any lean-to pergola creates ground coverage. Below a certain area, a preliminary work declaration is sufficient. Beyond that, a building permit becomes mandatory. The limit varies depending on whether the municipality has a local urban plan (PLU) or not.
- Pergola area less than or equal to the preliminary declaration threshold: Cerfa form to be submitted to the town hall, processing time of about one month
- Area exceeding the threshold: building permit with site plan, façade plan, and descriptive notice
- In protected areas (surroundings of historical monuments, classified sites): opinion from the architect of the Buildings of France required, regardless of the area
Building without a declaration exposes you to a fine and an obligation to demolish. Checking the implantation rules (setback from property lines, maximum height) before pouring the first block avoids costly complications.
The sizing of the structure, the type of façade, and water management form a technical triptych that determines the longevity of a well-built wooden lean-to pergola much more than the decorative finish. Addressing these three points before the project starts saves you from having to make adjustments after the first rainy season.